This was one of those projects that intimidated me. It just looks so permanent. And hard to remove. I kept envisioning needing to use a jackhammer to get the darn thing out, and ruining all the tile in the process.
Picture this:
Thankfully this picture never came to fruition. As it turns out, removing sliding shower doors are really easy to do. I would have removed this bad boy months ago had I known it was this easy.
This project only required two tools: A box knife and a drill (you could always use an old fashioned screwdriver if you wanted to put a little elbow grease into it but I had already worked out for the day.)
The first step was taking out the actual doors from the frame. One of the doors was secured with a little metal guard at the bottom on the rail so I had to remove that to get both doors out. Other than that, it was as simple as lifting them up to clear the bottom rail and taking them out.
Doesn't it already look better?
Next, I had to remove the top rail. I scored the caulk along the side and it popped off like presto magic.
The side rails were connected to the walls with screws so I unscrewed those, and then used my box knife again to lift up the caulk from the wall. The key was making sure my box knife was parallel to the tile. You never want to hold a knife perpendicular to tile unless you want some broken tile. I definitely didn't want that, or I would have used the jackhammer technique.
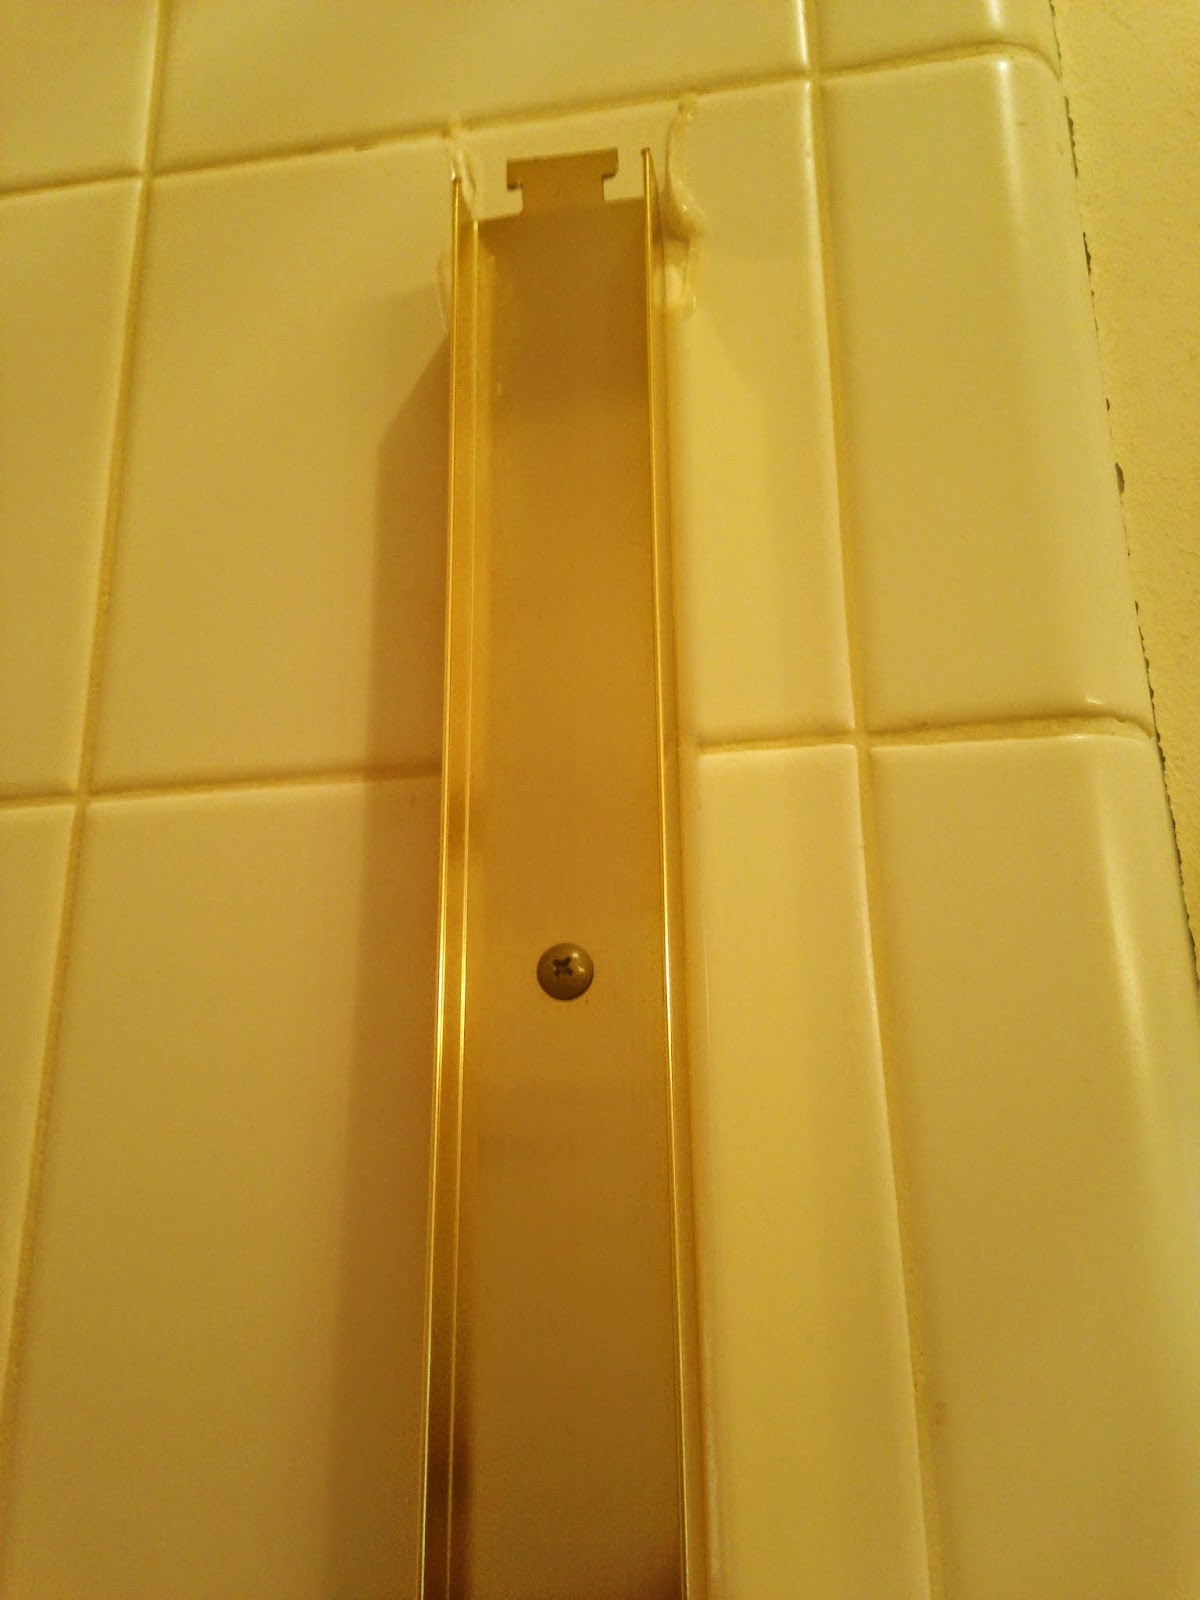
Once the screws were removed I tried pulling the rail off the wall. The top was separating but the middle wasn't going anywhere.
Here's what was going through my head: "Katy...what's the deal? This was going so smoothly until now. Maybe you need to keep scoring the caulk. Nope. Let's try again. Nope. That didn't work." After about 10 minutes of confusion and further investigation, I found a screw still attached in the wall, hiding behind this little black piece. What a trickster that screw was.
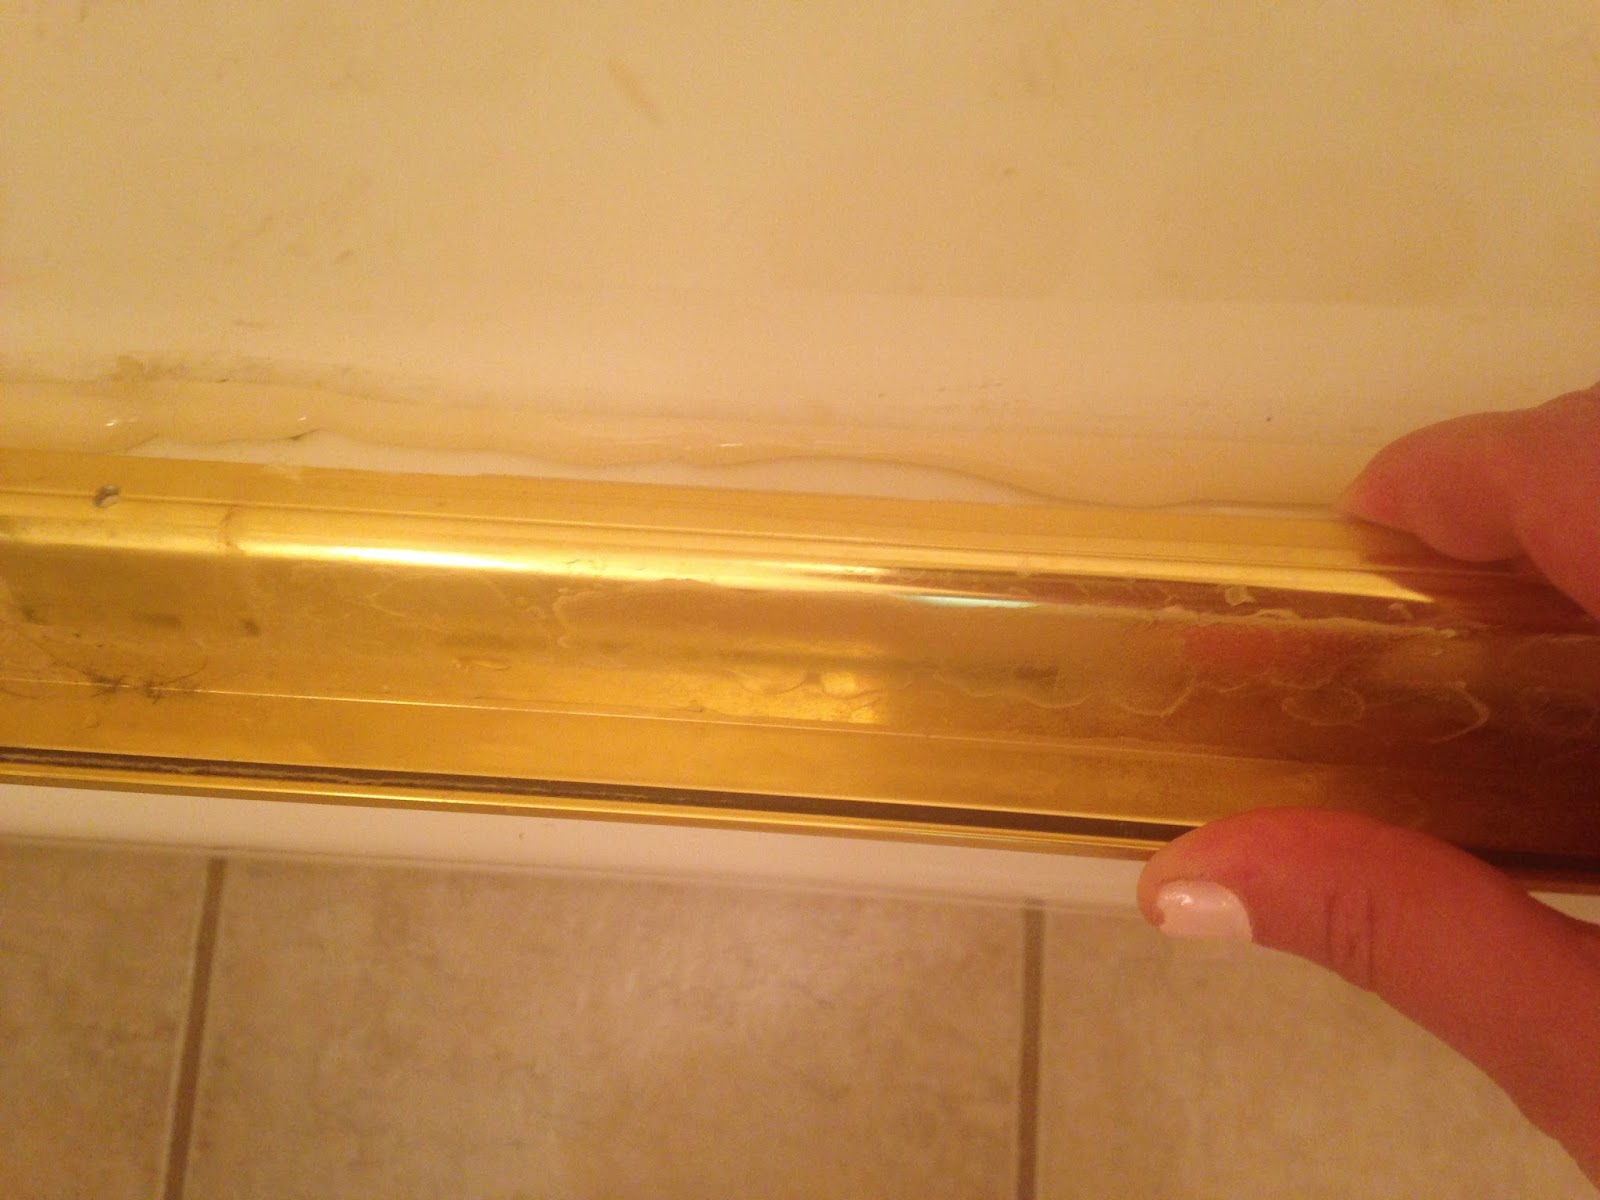
This one wasn't connected with screws so I just had to lift the caulk up with the box knife again.
*Side note- I almost didn't include this picture because the rail looks so sick nasty and I'm embarrassed. I pinky promise that we clean on a regular basis. This just goes to show how grody and hard to clean these shower doors are. It makes me even MORE glad that I removed it.
The only un-fun part of this project was the caulk left behind on the tile and tub that had to be scraped off. This part was left to the husband. My argument was that I did all the hard part and heavy lifting by removing the doors and rails so the LEAST he could do was scrape a little caulk off the walls. Isn't marriage fun?
We're also left with a few holes from the screws. Anyone have a solution for these? Do I fill them with grout? I have some researching to do.
After buying a tension rod and curtain, here's the finished product!
Let's take one last visit to the before picture, just because it's fun.
Doesn't it look like a different bathroom? (Just say yes.)
We obviously have more exciting plans than to just use a plain white shower curtain. Here's the color palate we've chosen.
Imagine that...more grey. We can't help it that grey is our favorite color. (besides purple but Devin won't allow me to paint all our walls purple)
Has anyone else contemplated removing their sliding shower doors? If not, you should!
Peace out,
Katy


This is a great remodel. I have been looking into a changing my sliding shower door. I think I need to just switch the shower doors like you did. It is a great idea. I will need to try it for myself. http://www.thomoshomeimprovement.com.au/shower-screens
ReplyDelete